-
Lettering Art
Our very Art tutor Beccy shows us some simple techniques to turn lettering into a work of art.

-
Hello everyone,
I hope you all had a lovely bank holiday weekend and have enjoyed the lovely weather.
Today’s activity is a fun one! I’ve always loved creating lettering, but have never been very good at it as I’m not so good at keeping it even and spaced out. So this is perfect because the more wonky and uneven it is the better!
You will need:
- Paper
- Pencil
- Felt tip pens
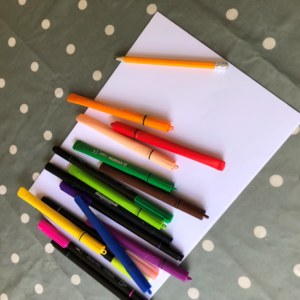
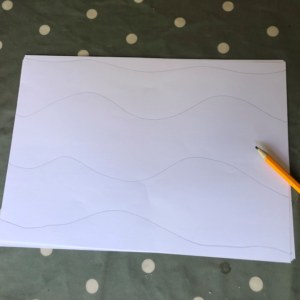
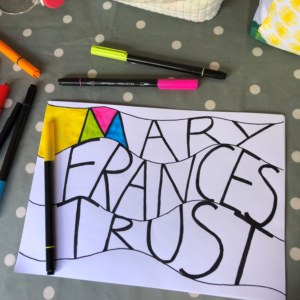
The first thing I did was to draw some wavy lines across my paper with a pencil. Work out how many words you want and adjust your lines to fit with those. I decided to have an extra border at the top and bottom, so for the three words I wanted, I made four lines.
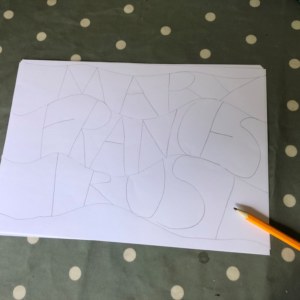
Next you need to write out your letters in between those lines. Some will be big and tall and some will be short and squat but it doesn’t matter.
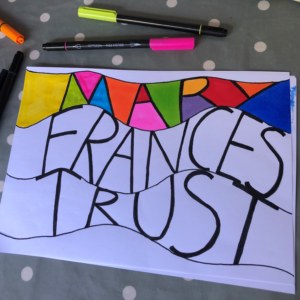
Now you need to go over the lines with a black pen. I kept the wavy lines quite thin and then I made the actual letters quite thick.
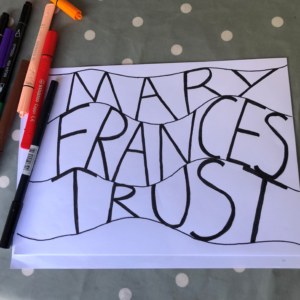
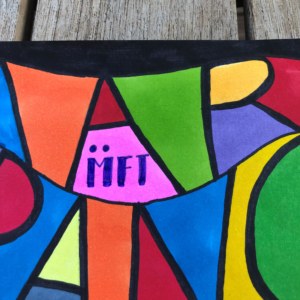
Finally you then colour in each segment in a different colour. You could also try using different patterns if you don’t have many colours. I finished off the top and bottom section in black to make the rest stand out. (I also couldn’t resist adding in the MFT logo!)

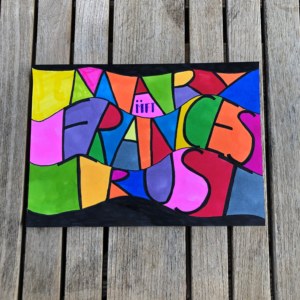
This would work really well on a greetings card or if you want to make a picture with a message. My kids are planning on making signs for their bedroom doors with their names on. It would also be great for adding a message to pictures you might be putting in your windows to share support for your community and for key workers, for example.
As always I would love to see any of your creations. Please get in touch with comments, suggestions and photos via my social media on Facebook, Instagram and Rwitter as: The Crafty Hare UK (@thecraftyhareuk) or you can send a reply on the MFT post if you prefer.
Thanks for reading and I will see you next week!
Beccy
Share


